Users Tab
The Users tab displays all participants across all groups under the logged-in researcher account. It is the primary interface for managing participants and monitoring their status.
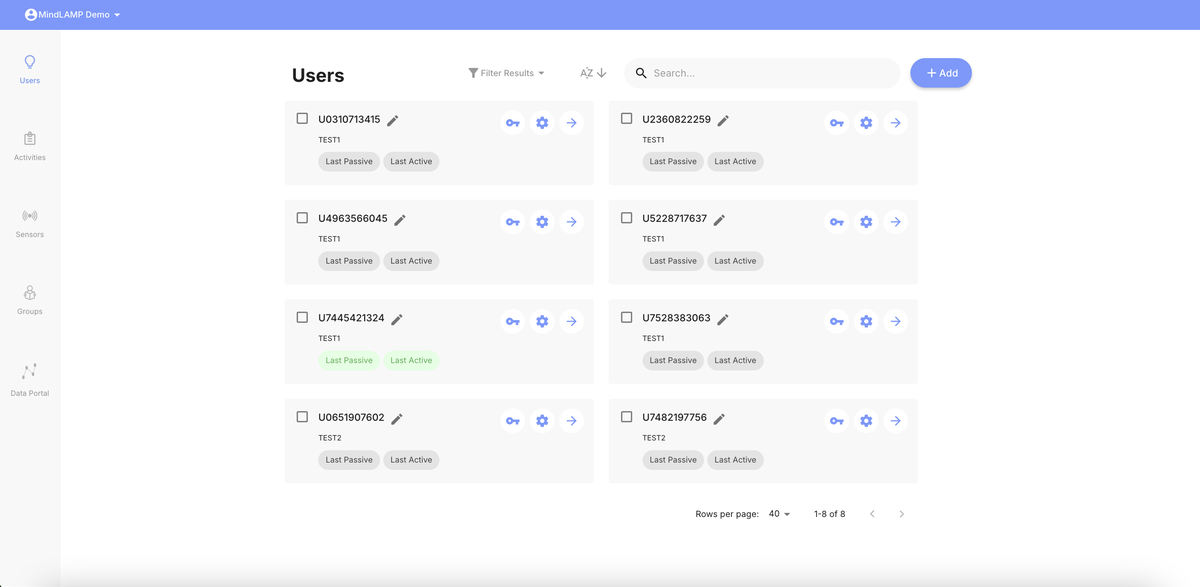
Participant Cards
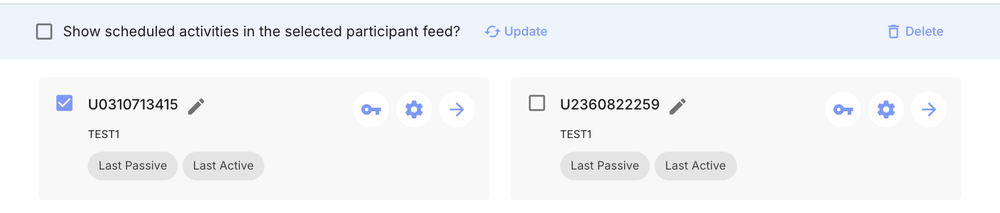
Each participant is displayed as a card with the following information:
![]()
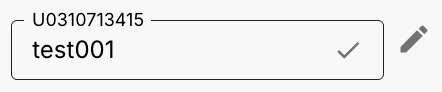
Name and Alias
Each card shows a de-identified identifier (typically starting with "U" followed by random digits). Click the pencil icon next to the name to add or change an alias. Aliases are only visible to the researcher/clinician — not to the participant or in exported data.
Data Collection Status
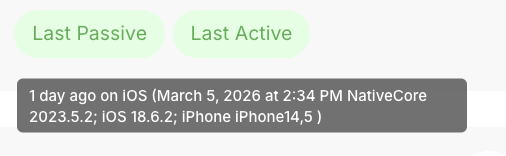
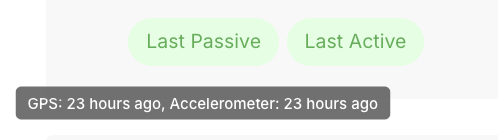
Each card has two color-coded buttons — Last Passive and Last Active — that indicate data recency at a glance:
- Green — Data collected within the last 2 days.
- Yellow — Data collected within the last week.
- Red — Data collected within the last month.
- Gray — No data collected in over 30 days, or none has ever been collected.
Hover over Last Active to see the exact login timestamp, device model, and app version.
Hover over Last Passive to see which sensors last reported and how recently.
Group
The group the participant belongs to is displayed on the card.
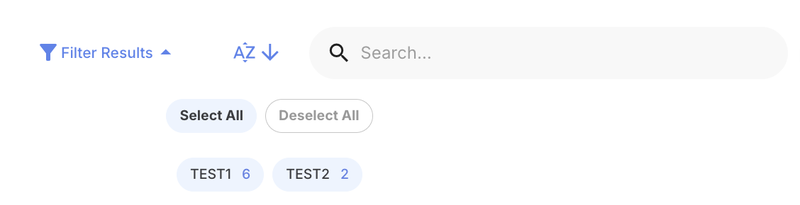
Filtering and Searching
Use the search bar to find specific participants. Use the Filter Results dropdown to reveal group bubbles, then click a group to filter participants by group.
Per-Participant Actions
Each participant card has three icon buttons:
- Key icon — Manage credentials (username and password).
- Gear icon — Open the participant profile.
- Arrow icon — Navigate to the participant's data view.
Select a participant by checking the box next to their name to reveal the Delete action, which permanently removes the participant. All associated data is irrecoverable.
Creating Participants
- Click the + Add button at the top right.
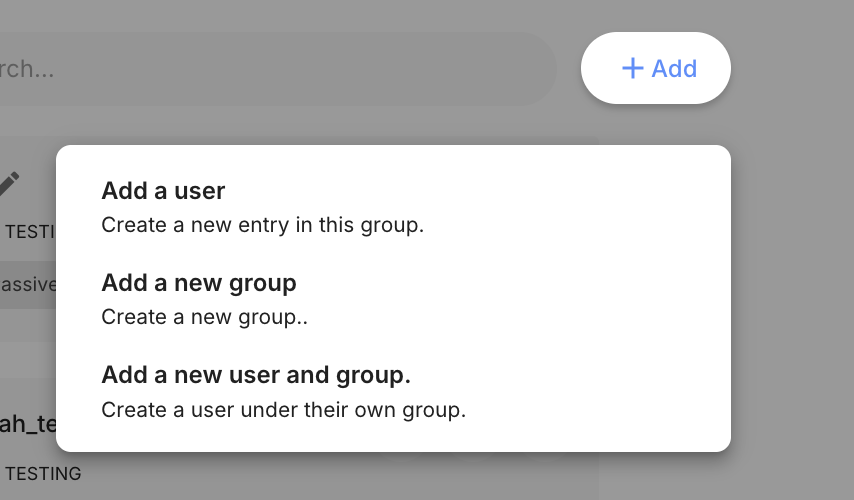
- Select Add a user.
- Choose the group to add the participant to and click Save.
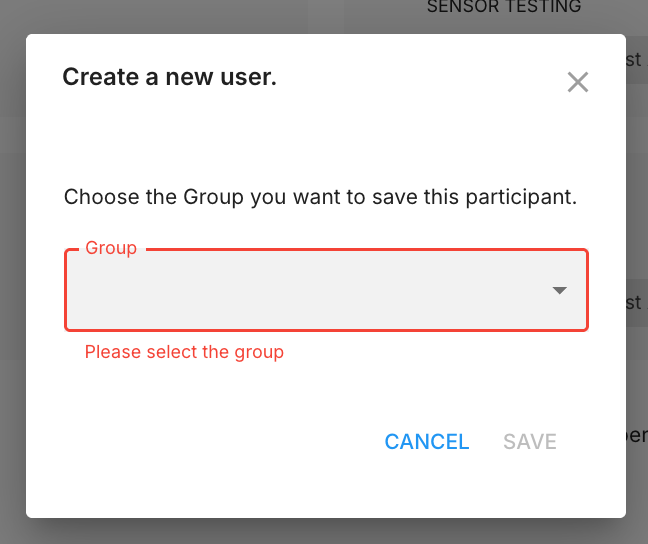
The system generates temporary credentials automatically. See Credential Management for details on the generated credentials, QR codes, and how to set up proper login credentials.
Participant Profile
Click the gear icon on a participant card to open their profile page.
From this page you can set the participant's nickname (alias), reset their credentials, and manage their group's study configuration. All changes made here apply at the group level.

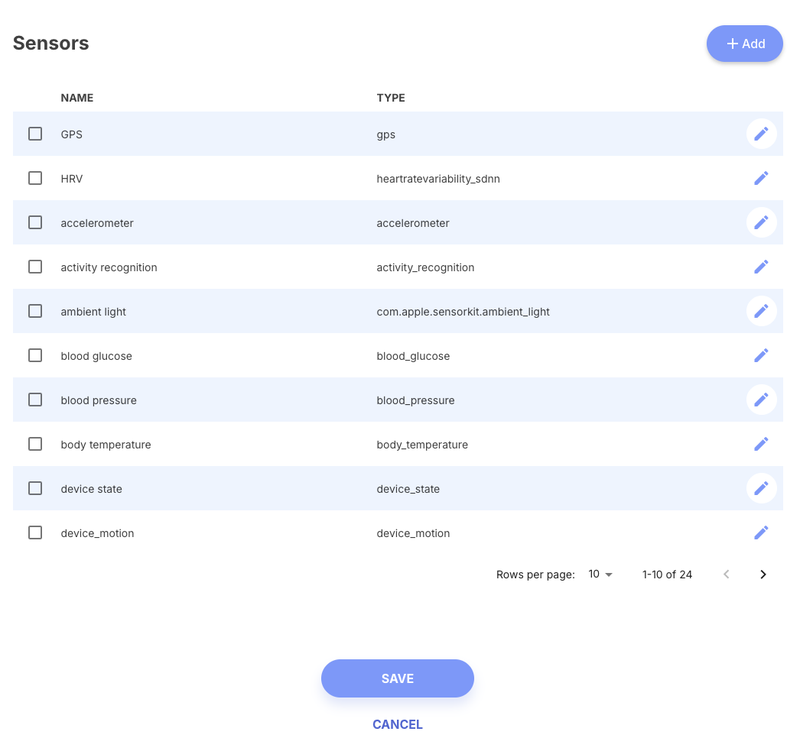
The profile provides the same activity and sensor management as the dedicated Activities and Sensors tabs, scoped to this participant's group. Use the floating message button at the bottom right to send a message to this participant.