Users vs Activities vs Sensors vs Studies Tab
When logging in a reseracher or clinician, be sure to note the view mode that you are currently in. This can be seen by looking in the top right corner, in which there will be a small, oval-shaped button that can toggle between "Simple Mode" and "Advanced Mode". See the images below for a visual. Simple mode simplifies the view so that only the users tab is visible in case a clinician as no need for the extra features and the advanced view is for researchers who require the full usage of LAMP's research capabilities.
| Simple Mode | Advanced Mode |
|---|---|
 |  |
Users
When the clinician or researcher logs in, they will see the Patients tab. Here, there will be a list of patients they have added.
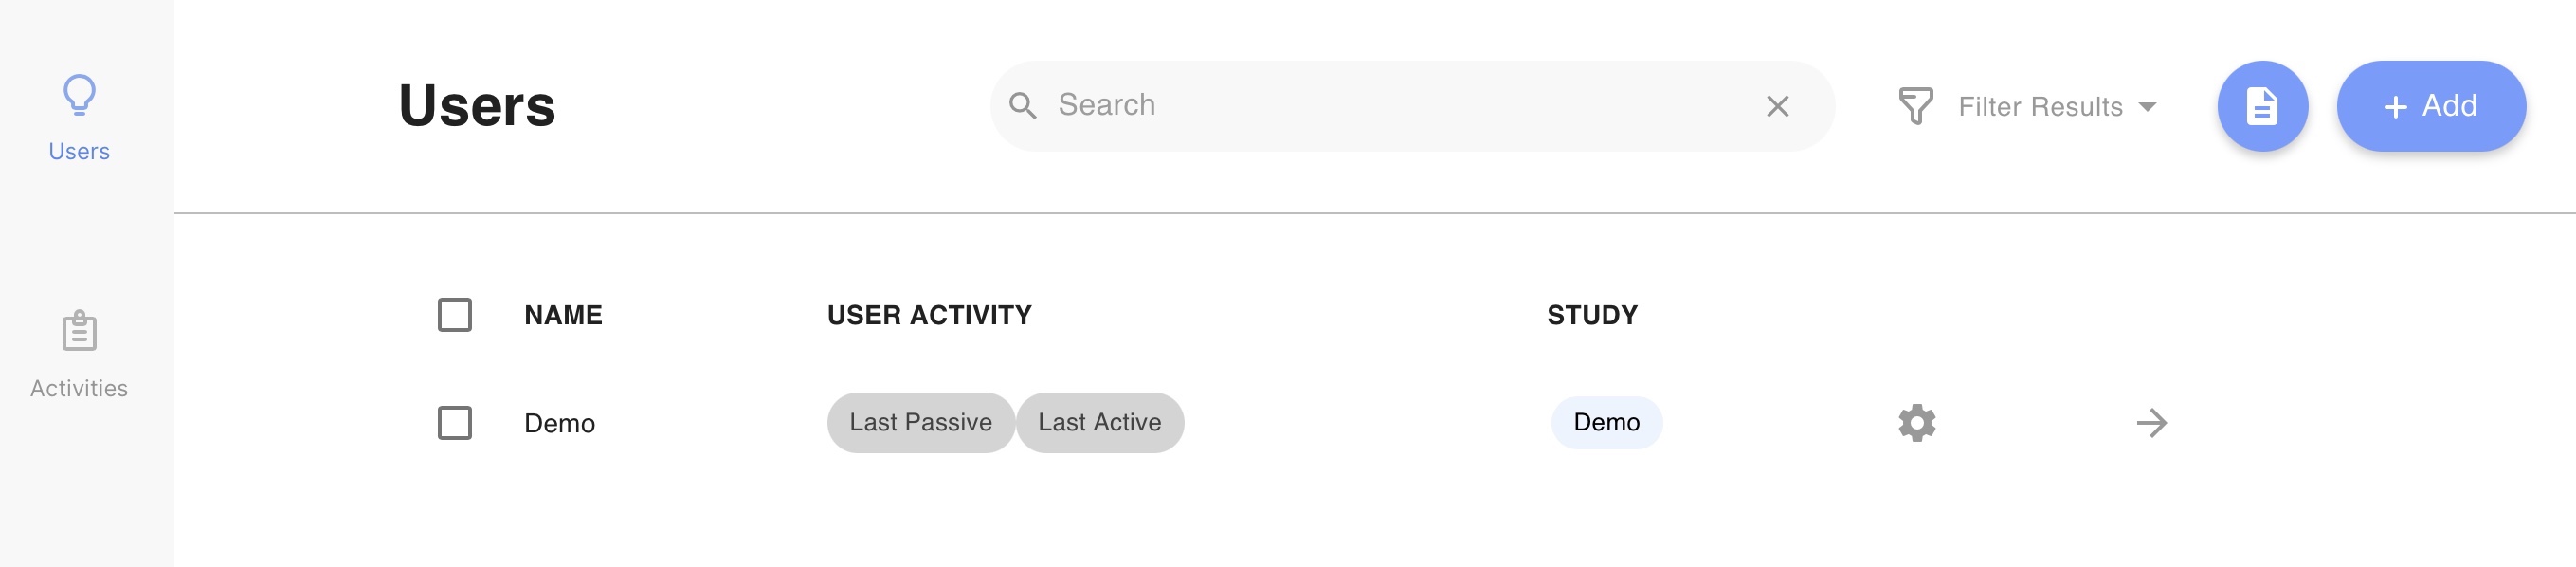
Each patient will have the following attributes:
Name
A patient's name is automatically generated as a de-identified patient identifier, typically beginning with a U, followed by a random number of random digits. Clinicians and researchers are able to change this name.
Last Active
This provides information about when the patient logged into the on the LAMP Platform. It is not representative of the last time the patient completed a survey or activity.
Indicators
The data quality indicators are representative of the passive data quality. They will be green, yellow, red, or gray depending on how recently passive data has been collected for that patient.
Green means that a patient's passive data has been collected within the last two days.
Yellow means that a patient's passive data has been collected within the last week.
Red means that a patient's passive data has been collected within the last month.
Gray means that a patient's passive data has never been collected.
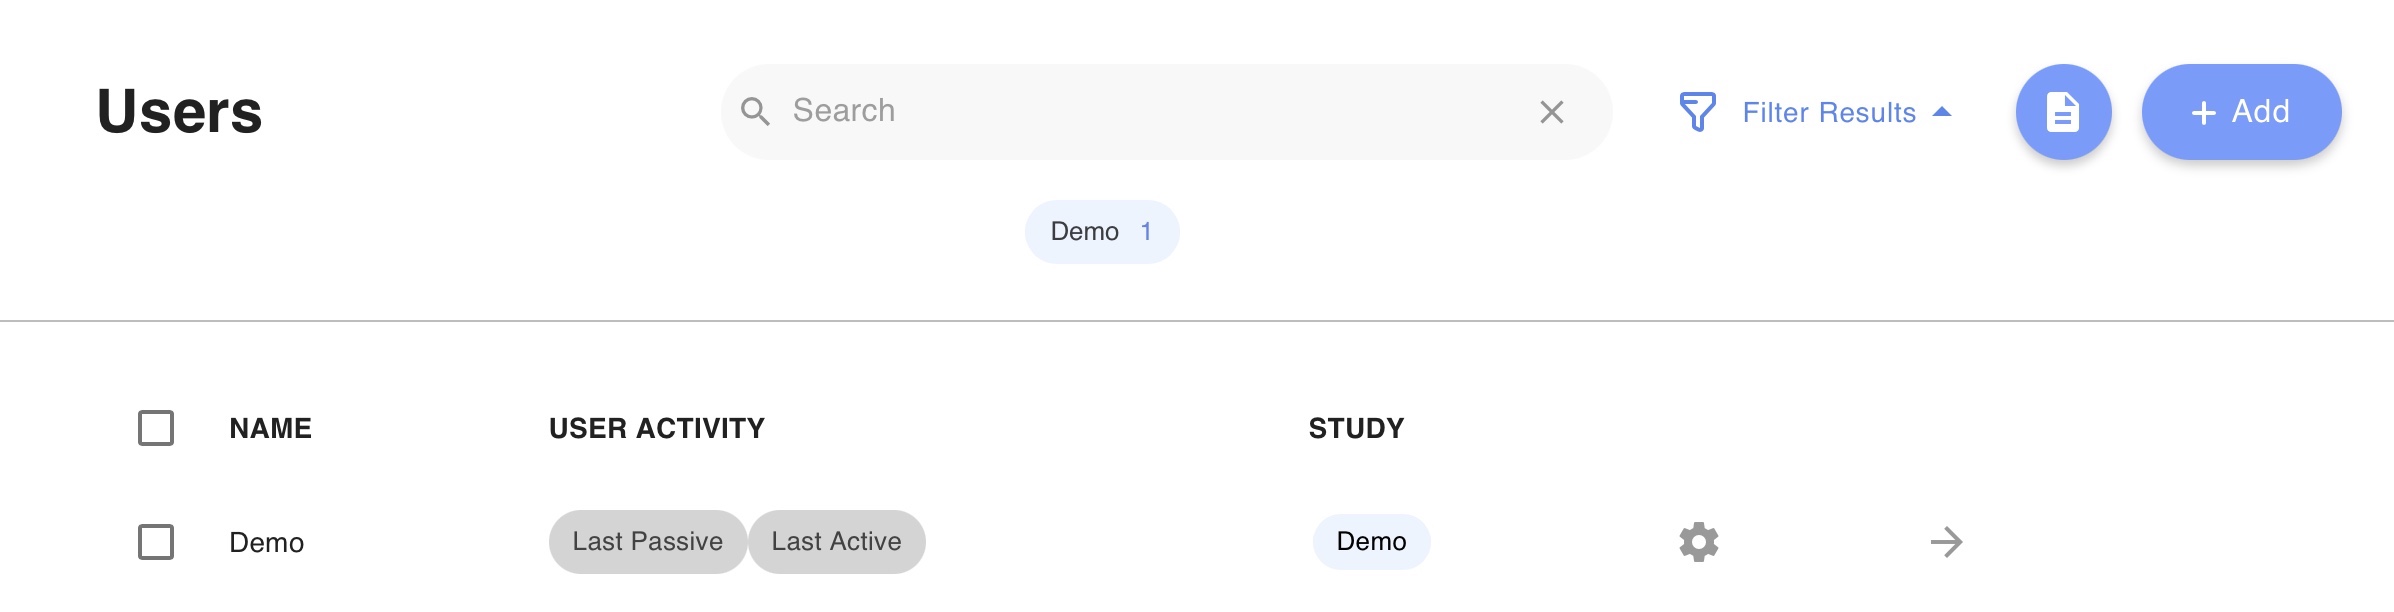
Study
Study shows which study a patient is participating in. To filter patients by what study they are in select the drop down menu "Filter Results." To view patients in a selected study, click on the study's bubble underneath the search bar.
Activities
A clinician or researcher can navigate to the activities page by selecting "Activities" on the left menu bar of the dashboard. Surveys and cognitive tests are examples of activities for patients.
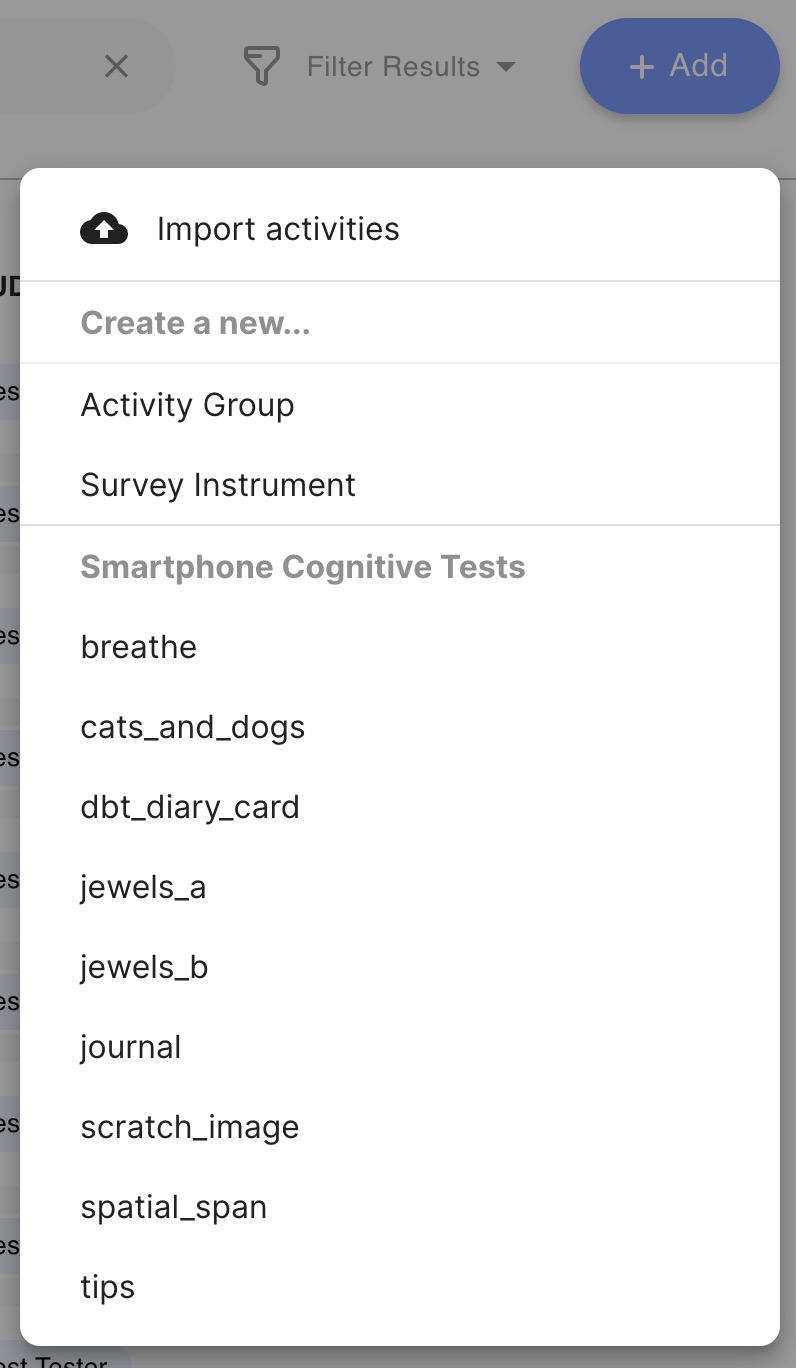
The blue "Add" button is used to add activities and surveys manually or to import them.
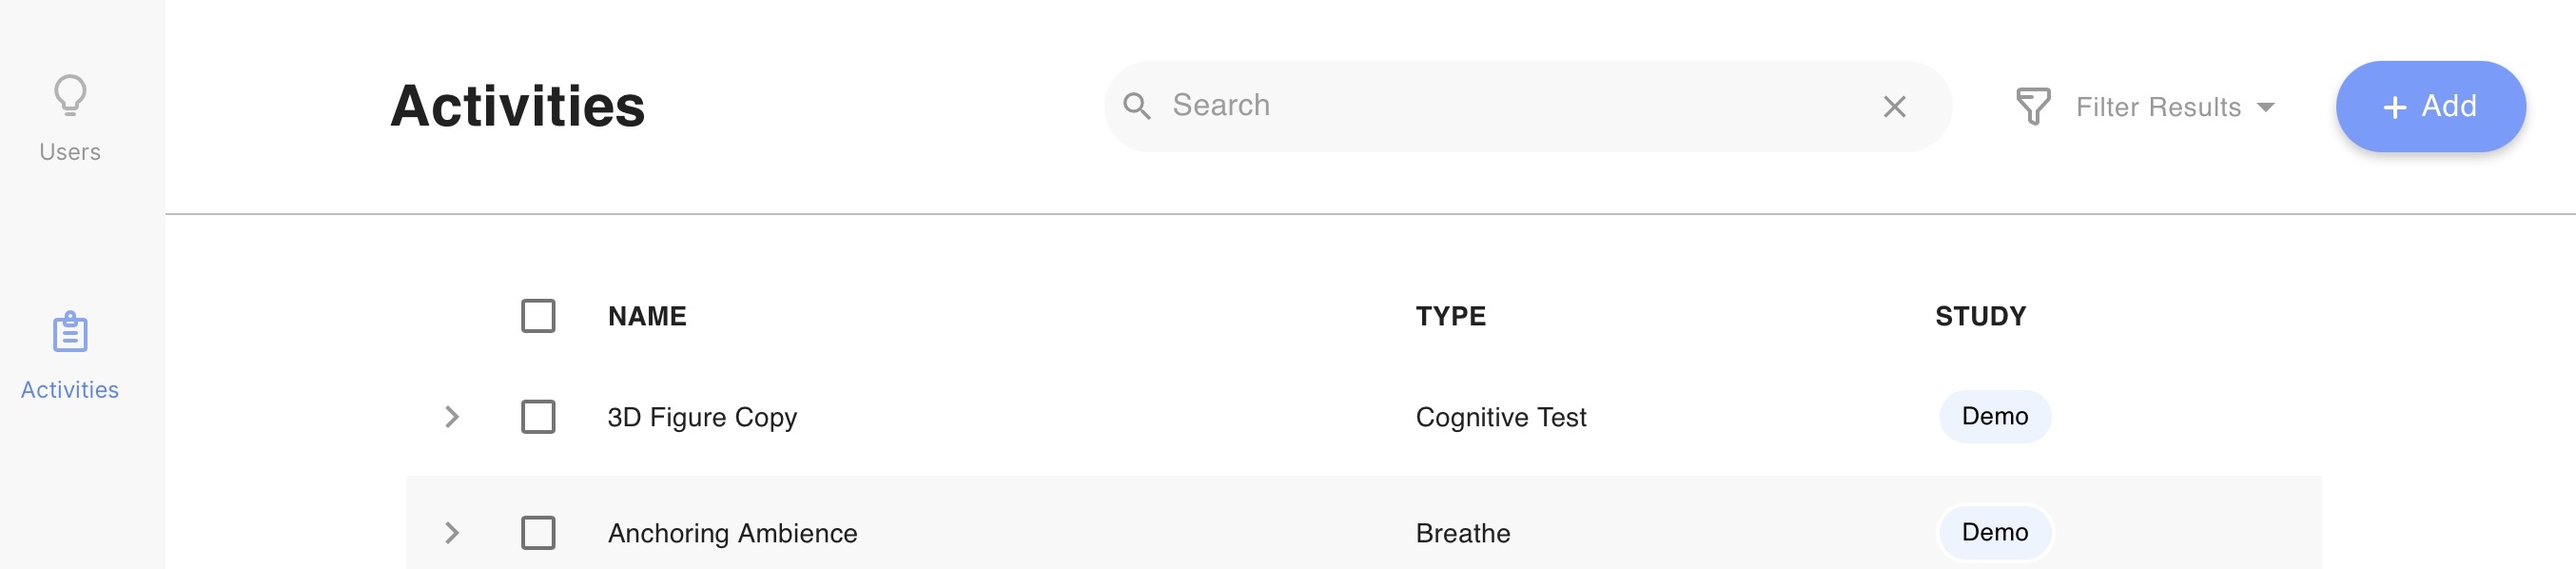
Each activity will the following attributes:
Name
The name of the activity describes what the activity itself is; for example, "Mood" would be the mood tracker survey).
Type
Type indicates if an activity is a tip, survey, cognitive test, or breathe activity type. Tips are fed to the patient or participant through Learn, surveys through Assess, and cognitive tests and breathe activities through Manage.
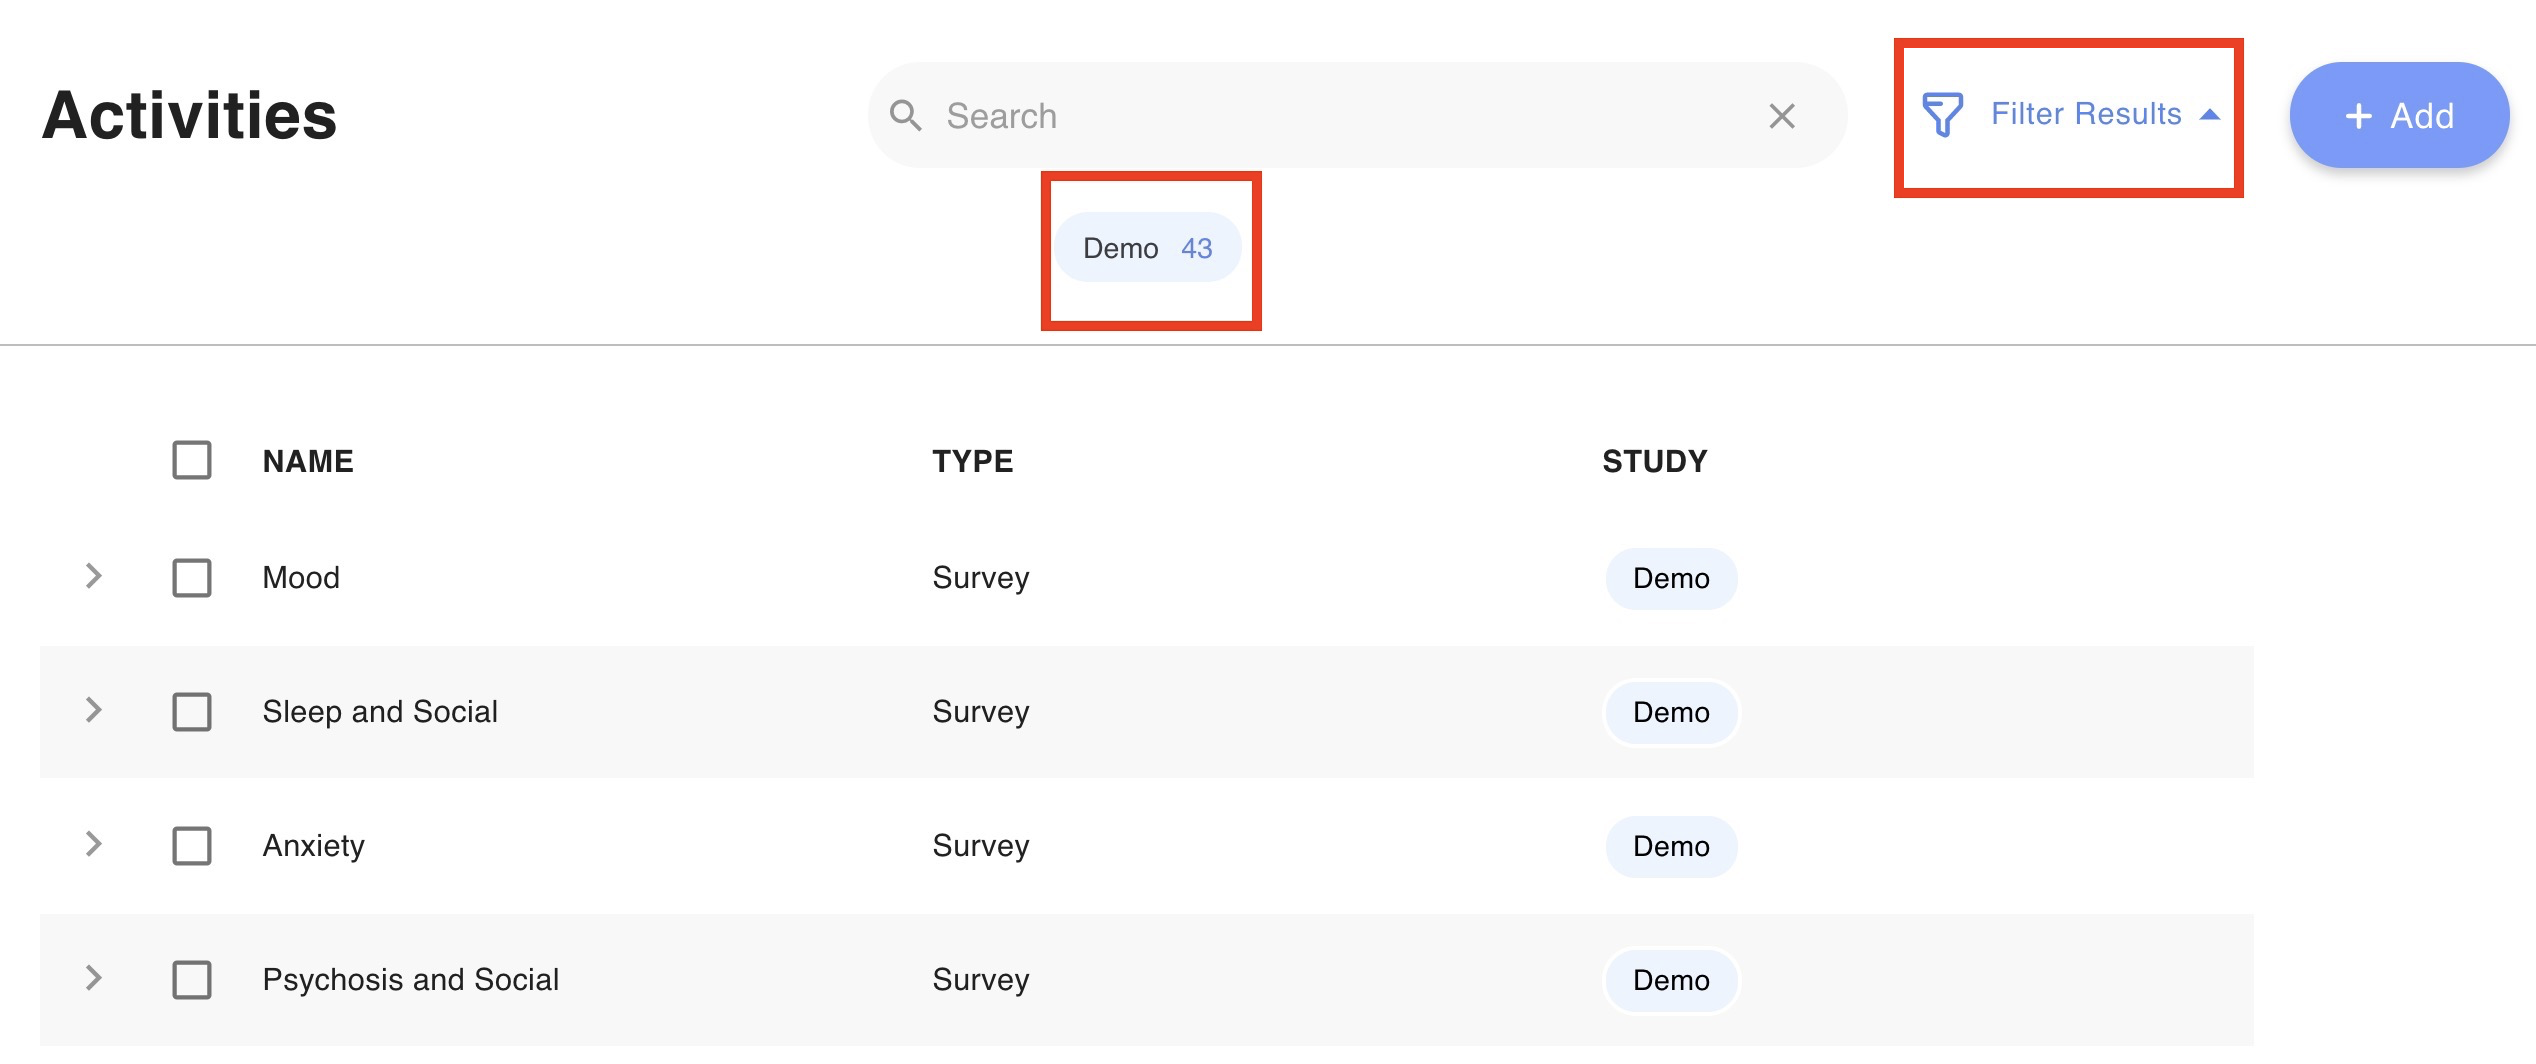
Study
Study indicates which study an activity is a part of. To filter activities by what study they are associated with, select the drop down menu "Filter Results." To view the activities in a selected study, click on the study's bubble underneath the search bar.
Sensors
A clinician or researcher can navigate to the activities page by selecting "Sensors" on the left menu bar of the dashboard. GPS and heart rate are examples of sensors. The blue "Add" button is used to add sensors.
Each sensor will the following attributes:
Name
The name of the sensor describes what the activity itself is; for example, "gps" would be the gps sensor).
Study
Study indicates which study an sensor is a part of. To filter sensors by what study they are associated with, select the drop down menu "Filter Results." To view the sensors in a selected study, click on the study's bubble underneath the search bar.
Studies
A clinician or researcher can navigate to the activities page by selecting "Studies" on the left menu bar of the dashboard.
The blue "Add" button is used to add sensors.
Name
The name of the study.
Video Tutorials
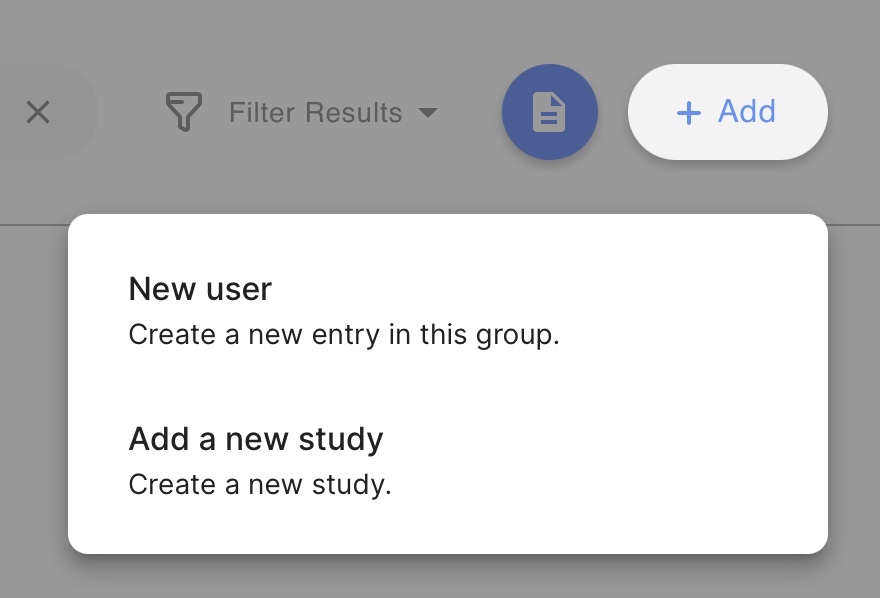
You can add a new study or group from either the "Users" tab or the "Studies" tab. See instructions below:
You can add a user to an existing group. See instructions below:
You are able to add a new user and a new group at the same time. You can also duplicate an existing group. See instructions below: