OAuth2/OIDC Support
Introduction
The OAuth2/OIDC integration for the LAMP Platform allows 3rd party identity services systems your organization may already be using (such as Azure Active Directory or AWS Cognito) to be used for authentication and authorization. This integration works by binding an existing mindLAMP ID (such as a Participant ID or Researcher ID) to an existing or new IdP identity (that is, the Participant ID within mindLAMP must still be managed manually from the dashboard at this time). Additionally, when using IdPs such as Azure Active Directory, this integration also supports B2C identities; for example, if your hospital organization already has Azure configured and has just set up the LAMP Platform, patients will be able to use their personal Gmail or Twitter accounts (if allowed by your organization) to sign into mindLAMP on their personal devices.
Support for OAuth2/OIDC is under active development is a BETA feature at this time. For more information and assistance, contact us.
Setup
New variables added to the MindLAMP Environment to support OAuth 2.0 Auth with different IdPs:
OAUTH_AUTH_URL- This is the URL that that we will use to fetch our authorization code from
- Example value:
https://login.microsoftonline.com/{tenantid}/oauth2/v2.0/authorize
OAUTH_TOKEN_URL- This is the URL we will use to exchange our authorization code for proper access/refresh tokens
- Example Value:
https://login.microsoftonline.com/common/v2.0/oauth2/token
OAUTH_LOGOUT_URL- This is the URL will be used when logging out of MindLAMP. Since the session with the provider is handled by the provider (Cookies stored in their domain keep the session open, generally) IdPs have their own logout URLs.
- Example Value:
https://login.microsoftonline.com/common/oauth2/v2.0/logout?post_logout_redirect_uri=https://localhost:3001
OAUTH_CLIENT_ID- Client ID given to us by our IdP when creating an OAuth Credential/Client
OAUTH_CLIENT_SECRET- Secret given to us by the IdP when creating an OAuth Credential/Client
TOKEN_SECRET- Secret that will be used to sign/validate tokens created inside the mindlamp platform
- Example Value:
QfTjWnZq4t7w!z%C*F-JaNdRgUkXp2s5u8x/A?D(G+KbPeShVmYq3t6w9y$B&E)H - Can be anything
OAUTH_REDIRECT_URI- URL that we will be redirected to after authentication with our IdP
- Example Value:
http://localhost:3001/
OAUTH_SCOPE- The set of permissions we will be requesting of our IdP
- Example values and notes: offline_access should always be present, it asks the IdP to emit refresh tokens.
- For B2C, the Azure Client ID needs to be part of the scope or Azure won't emit Access Tokens
OAUTH- This value signifies if the API accetps/handles OAuth Login correctly.
- Example Values:
on/off
All of the values should be strings.
Example using Keycloak
Set up a custom OAuth solution with MindLAMP
In this example we set up an existing MindLAMP server with Keycloak, an open source identity provider which supports the OAuth 2 flow. This choice is supplied as an example; other OAuth 2 solutions could be used.
Create and start the Keycloak server
The Docker Compose file you need to use depends on whether you want to run the server in development or production mode. Choose the right one below, save it to a docker-compose.yaml file and then run docker compose -f <path to file>/docker-compose.yaml.
Development mode
Click to expand
    version: '3'
    services:
      keycloak:
        image: quay.io/keycloak/keycloak:17.0.0
        command: start-dev
        environment:
          KEYCLOAK_ADMIN: admin
          KEYCLOAK_ADMIN_PASSWORD: <admin password here>
          KC_DB: postgres
          KC_DB_URL_HOST: <database host here>
          KC_DB_USERNAME: mindlamp
          KC_DB_PASSWORD: <database password here>
        ports:
          - 8080:8080
        depends_on:
          - db

      db:
        image: postgres:latest
        environment:
          POSTGRES_USER: mindlamp
          POSTGRES_PASSWORD: <database password here>
          POSTGRES_DB: keycloak
        ports:
          - 5432:5432
Production mode
Click to expand
    version: '3'
    services:
      keycloak:
        image: quay.io/keycloak/keycloak:17.0.0
        command: ["start", "--auto-build"]
        environment:
          KC_HEALTH_ENABLED: true
          KC_METRICS_ENABLED: true
          KC_HOSTNAME: <hostname here>
          KEYCLOAK_ADMIN: admin
          KEYCLOAK_ADMIN_PASSWORD: <admin password here>
          KC_HTTPS_KEY_STORE_FILE: /tmp/keystore
          KC_HTTPS_KEY_STORE_PASSWORD: <key store password here>
          KC_DB: postgres
          KC_DB_URL_HOST: <database host here>
          KC_DB_USERNAME: mindlamp
          KC_DB_PASSWORD: <database password here>
        ports:
          - 8443:8443
        depends_on:
          - db
        volumes:
          - <key store file here>:/tmp/keystore

      db:
        image: postgres:latest
        environment:
          POSTGRES_USER: mindlamp
          POSTGRES_PASSWORD: Password01
          POSTGRES_DB: keycloak
        ports:
          - 5432:5432
Make sure you match <database password here> for both containers. In production mode, HTTPS support is mandatory, so you also need to provide a valid key store file.
Please refer to https://www.keycloak.org/server/all-config for a complete list of build and configuration options.
Set up a realm
- Open a web browser and go to Keycloak hostname (e.g., https://0.0.0.0:8443 if you are in the host in production mode).
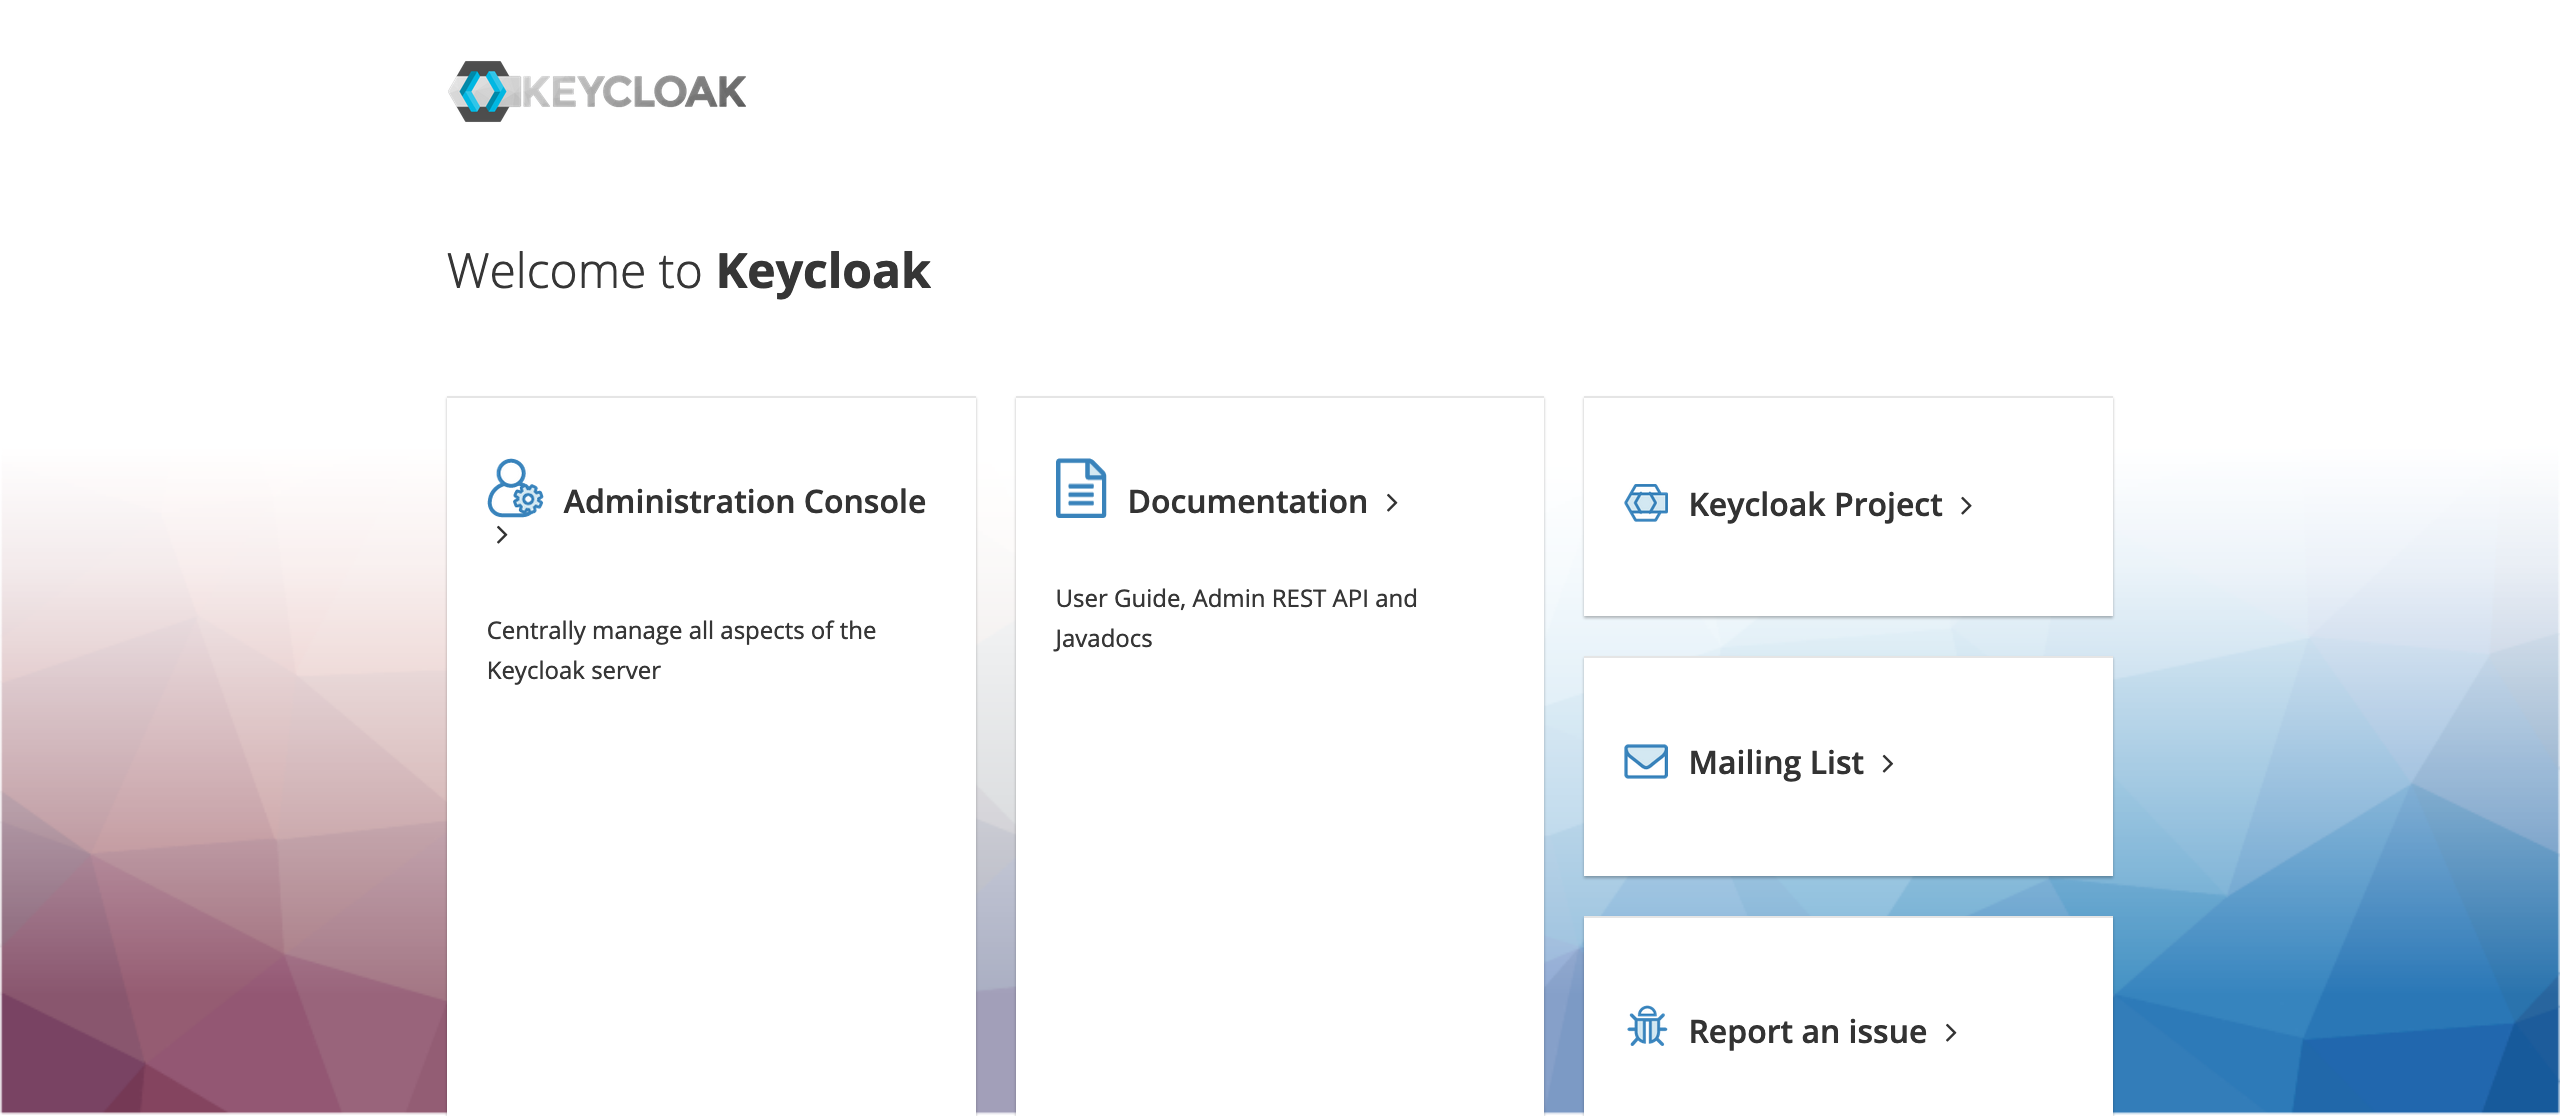 Click Administration Console.
 - Enter the credentials you specified in the
docker-compose.yamlfile and click Sign In. - On the top left corner of the screen, hover over Master (this is what the default realm is called) and click on the Add realm button that will appear.
- Enter a name for the new realm (for example,
MindLAMP) and click Create.
Once the realm is created, you can add one or more clients for the MindLAMP server to interact with.
Add an OAuth client
- Click Clients from the sidebar on the left and then click Create on the right.
- Specify a client ID (for example,
spa) and pickopenid-connectas the client protocol. Click on Save.
Configure the client for MindLAMP
A few settings need to be set up for the new client to work with MindLAMP.
- Set Access Type to
confidential. - Turn on Implicit Flow Enabled.
- Under Valid Redirect URIs, add an item for every MindLAMP dashboard that will log in through this client. The exact URL(s) must be specified, otherwise log in will be rejected by Keycloak.
- Set up any other options that are needed. When you are finished, click on Save.
- Switch to the Credentials tab and copy the client secret. You will need it for the following step.
Set up the MindLAMP server
Finally a few environment variables need to be added to the MindLAMP server. Here's an example of what the OAuth section of the .env file could look like:
OAUTH="on" OAUTH_AUTH_URL="https://hostname here>/realms/realm name/protocol/openid-connect/auth" OAUTH_TOKEN_URL="https://hostname here/realms/realm name/protocol/openid-connect/token" OAUTH_LOGOUT_URL="https://hostname here/realms/realm name/protocol/openid-connect/logout" OAUTH_CLIENT_ID="client name here" OAUTH_CLIENT_SECRET="client secret here" OAUTH_REDIRECT_URI="dashboard URL here" OAUTH_SCOPE="openid offline_access" OAUTH_STATE="12345" OAUTH_NONCE="67890"
Hostname needs to be the same as specified in the docker-compose.yaml file. The OAUTH_LOGOUT_URL is not mandatory, but it is needed so that the user is automatically logged out from Keycloak when they log out from the dashboard.
Remember that OAUTH_REDIRECT_URI must be exactly the same as the redirect URI the client was set up with.
For further specifications on configuring Oauth for Google see the documentation here: https://docs.lamp.digital/deploy/configure_oauth_google
Kubernetes Example
apiVersion: apps/v1
kind: Deployment
metadata:
  name: mindlamp-server
  labels:
    app: mindlamp-server
spec:
  replicas: 1
  selector:
    matchLabels:
      app: mindlamp-server
  strategy:
    rollingUpdate:
      maxSurge: 1
      maxUnavailable: 0
    type: RollingUpdate
  template:
    metadata:
      labels:
        app: mindlamp-server
    spec:
      containers:
      - name: server
        image: {redactedValue}/mindlamp_server:latest
        imagePullPolicy: Always
        resources:
          limits:
            cpu: "1000m"
            memory: "2000Mi"
          requests:
            cpu: "50m"
            memory: "100Mi"
        livenessProbe:
          exec:
            command:
            - /bin/sh
            - -c
            - "wget --no-verbose --tries=1 --spider http://localhost:3000  || exit 1"
        env:
        - name: CDB
          value: "http://admin:varDbPass@couchdb-internal:5984/"
        - name: NATS_SERVER
          value: message-queue:4222
        - name: REDIS_HOST
          value: redis://cache:6379/0
        - name: HTTPS
          value: "off"
        - name: PUSH_API_GATEWAY
          value: "https://app-gateway.lamp.digital/push"
        - name: PUSH_API_KEY
          value: "varPushAPIKey"
        - name: ROOT_KEY
          value: "varRootKey"
        - name: OAUTH_AUTH_URL
          value: "https://login.microsoftonline.com/*7BredactedValue*7D/oauth2/v2.0/authorize"
        - name: OAUTH_TOKEN_URL
          value: "https://login.microsoftonline.com/common/v2.0/oauth2/token"
        - name: OAUTH_LOGOUT_URL
          value: "https://login.microsoftonline.com/common/oauth2/v2.0/logout?post_logout_redirect_uri=api:**B7BredactedValue*7D"
        - name: OAUTH_CLIENT_ID
          value: "varOauthClientId"
        - name: OAUTH_CLIENT_SECRET
          value: "varOauthClientSecret"
        - name: TOKEN_SECRET
          value: "varOauthTokenSecret"
        - name: OAUTH_REDIRECT_URI
          value: "{redactedValue}"
        - name: OAUTH_SCOPE
          value: "openid offline_access"
        - name: OAUTH
          value: "on"
      restartPolicy: Always
      serviceAccountName: ""
      volumes: null